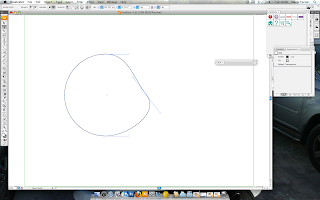
I begin by first drawing out a simple circle, and the way to keep the circle in proportion is by holding down the shift key whilst drawing the circle.
I then select the white arrow tool, this allows me to either move or manipulate different points of an object, for the character that I am wanting to create I will need to manipulate only 2 points, this is to make the cheeks of the squirrel, because generally squirrels have big cheeks to store nuts, also in cartoons those sort of aspects are exaggerated. I select the point that I would like to manipulate first, and as it is a circle already 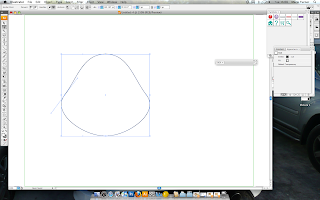 there are other points that allow the curved edges, I drag one of the points inwards towards the center of the circle, until I feel that the size of the cheek is enough, I then repeat the same process for the other side of the face.
 there are other points that allow the curved edges, I drag one of the points inwards towards the center of the circle, until I feel that the size of the cheek is enough, I then repeat the same process for the other side of the face.
And here on the right is a screen grab of what the circle is like after I had manipulated the points, as you can see I have now got a template for my squirrel.
 Once I had done the base I then had to create the facial features of the squirrel. After the research that I had done, I found that I had to make my character happy and friendly, without being too over the top.
I started with the eyes, I first made 1 oval shape, I then used the white arrow tool to make the bottom of the eyes straighter, also this can help the character look friendly. I then held down the ALT and SHIFT keys together whilst the eye was selected, and the dragged it across so it was at a similar distance from the other side of the face (holding down ALT copies the selected image or object and holding down SHIFT makes the path of where the image was to where it is going in a straight line).
To make the nose I used the arc tool so there was a slight curve, and then I can draw on the small bits on the end of the lines to make the nose look better. I then made my characters' mouth, and for my 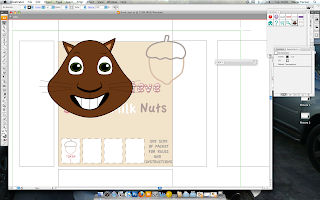 character to be friendly looking I had to make a smilely mouth. The mouth was very simple because I just used the paint brush tool and draw the mouth by hand, and then to make the teeth I just used the line tool.
 character to be friendly looking I had to make a smilely mouth. The mouth was very simple because I just used the paint brush tool and draw the mouth by hand, and then to make the teeth I just used the line tool.
On the right, you see my character with the facial features in place as well as the ears and whiskers.
The way I got the colour for my character was by using an image of a real squirrel and then in Adobe Photoshop, pixilate 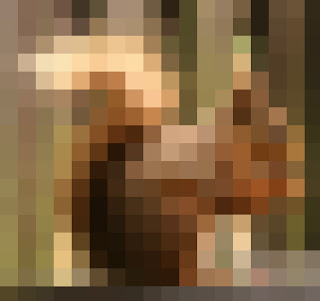 the image and then open in in Illustrator and the use the Ink Dropper tool and use 1 of the colours from that image.
 the image and then open in in Illustrator and the use the Ink Dropper tool and use 1 of the colours from that image.
And here is the pixilated image of the squirrel that I used.

No comments:
Post a Comment