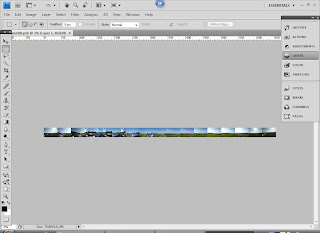
As I am
showing you here, you are able to see all of the images in one document, and they are ready to be overlapped and stitched together.
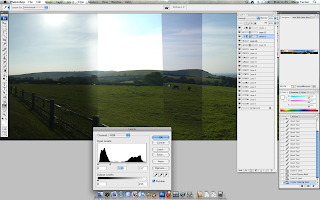
 The next thing is to line each of the images one by one until everything in the images would match so that I would be able to then blend them in using a non-destructive way of working, I chose mainly to use layer masks. Using layer masks would allow me to hide the parts of the image at which I would like to get rid of and keep the parts that I would like to keep.
The way I would use the layer masks is to first add it to the right layer, and then select the paint brush tool, and I would always make sure that I have a soft brush, this will allow me to blend the images in better.
I would then be able to have a fully working panorama that I ouwld be able to see in Quick Time.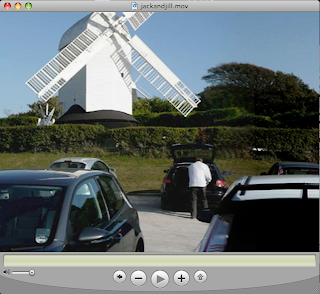

The next thing that I had to do to
create the final image, was for each one decrease
the opacity to 50% and then align one thing up that would be in the middle of the images and then once I had done that I would the increase the opacity b
ack up to 100% so I could do the same with the next image.
Once I had done that to all of the images then I would have to crop out the excess part of the document, where any large amounts of the background
are showing. And then decrease the size of the image to at least 12000 pixels, this will allow for the image to be easily stored and to make it easier to manipula
te.
The next thing is to line each of the images one by one until everything in the images would match so that I would be able to then blend them in using a non-destructive way of working, I chose mainly to use layer masks. Using layer masks would allow me to hide the parts of the image at which I would like to get rid of and keep the parts that I would like to keep. 
The way I would use the layer masks is to first add it to the right layer, and then select the paint brush tool, and I would always make sure that I have a soft brush, this will allow me to blend the images in better.
And then I would be able to change the opacity of the brush to how I would like it at the time.
Once I have done the same thing to all of the images I would then flatten them to create one flate .psd image.
To then make sure that the panorama will work, I have to make a selection, using the marquee tool, at a point with no or harly any inter
est and using the short cut Apple/Control-J, this copies the selected image and pastes it onto a new layer. I would then, using the layers palette, click on the background layer, and hod down Apple/Control and then click on the small image on the new layer that I had just created, this allows me to reselect the layer, and to inverse the selection, I have to use another keyboard shortcut which is Apple/Control-Shift-I, and then I have to do the same as before and to create a new layer with the selected image in it.
I then do the same as I have done before by manipulating the image, however I was not allowed to move the image either up or down. Therefore to match the 2 images up, once I had overlapped them and lined them up, I would then use the Warp option in Transform, and warp the image until it matched. And again I would do the same as before and use the paint brush tool and layer masks to blend the images in.

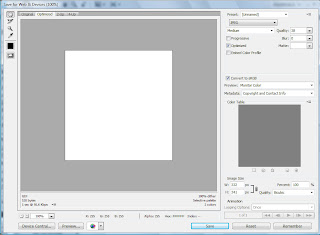
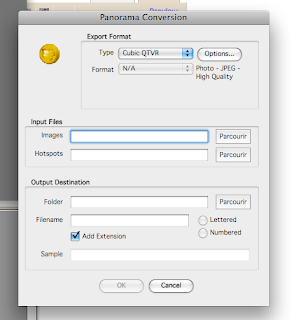
And once all of that was done I would then save the image for web, and save the flattened image as a JPEG, this means that I would then be able to use another programme called Stitcher to create the final panorama.
Here I am showing the flattened .JPG, after I have put it into Stitcher, which I have demonstrated as a screen shot below, and the final QTVR is on the right as a screen shot as well.
No comments:
Post a Comment